Greetings, dear readers! I trust you’re all doing well. Based on your positive response to our previous articles on blanket patterns, I’ve curated a delightful Daisy Square model that I’m excited to share with you. I hope you find it appealing and make the most of our suggestions.
Daisy Square Free Pattern
Written byadmin in
Crochet, an enduring and timeless craft, has captured the hearts of enthusiasts for generations. Among the plethora of patterns, blanket designs stand out as perennial favorites. Today, we present this Daisy Square pattern to help you refine your crochet skills while adding another exquisite piece to your home.
Daisy Squares are versatile creations suitable for every season, allowing for endless possibilities in terms of colors and yarn choices. This pattern beautifully merges elegance and delicacy, making it increasingly popular within the crochet community.


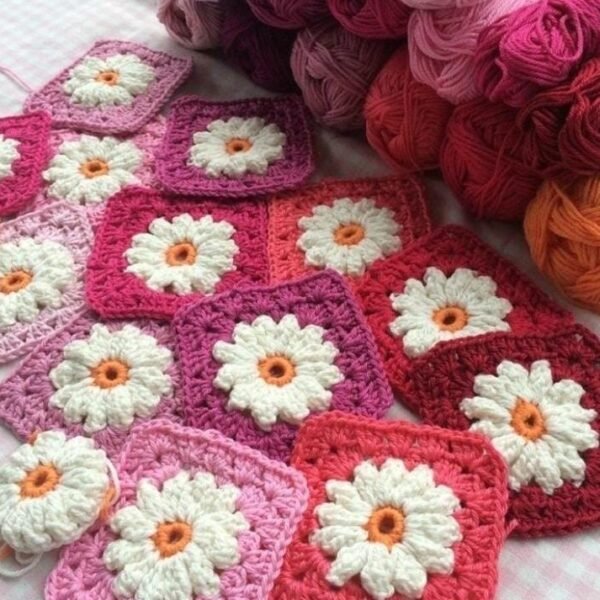
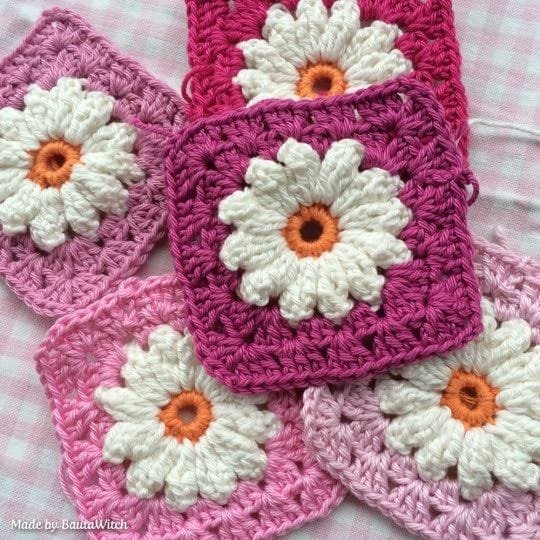
Often known as Daisy Flower or Daisy in a Square, the Daisy Square is a classic crochet motif admired for its cheerful resemblance to the daisy flower. Its circular center and delicate petals radiate charm, making it a perfect choice for various projects. Whether you’re crafting blankets, pillows, clothing, or home decor items, this pattern lends a touch of beauty and grace to every creation.
Materials:
Worsted weight yarn in your preferred colors.
Crochet hook (size varies based on yarn weight; generally, a 5.5mm or 6mm hook is suitable).
Scissors
Yarn needle for neatly weaving in loose ends.
Abbreviations:
ch: chain
sc: single crochet
dc: double crochet
sl st: slip stitch
sp: Space
rep: repeat
The Tutorial:
Round 1: To start, chain 2 stitches and then crochet 11 double crochets (dc) into the central ring.
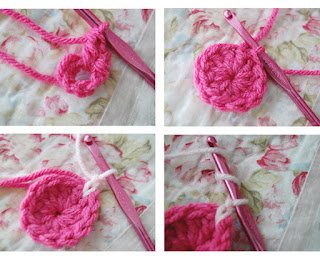
Round 1 daisy
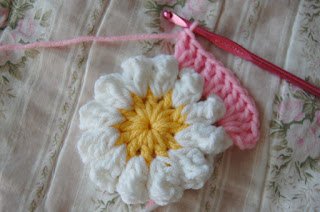
Round 2: Change to a new color by creating a slip stitch in any space between the double crochets. Chain 2, and in the same space, make 3 treble crochets (tc). To form a petal, insert your hook into the top of the first treble crochet, remove the hook, and pull the last treble crochet through the first loop. Chain 2 to complete the petal. Repeat this process to create a total of 12 petals, separated by ch2 spaces.

Round 2 daisy
For those interested in adding a border to the daisy square, refer to the illustrative photos below for guidance.
Round 1: Secure a new color by making a slip stitch into any ch2 space. Chain 2 (this serves as your first double crochet), then work 2 double crochets, chain 1, and 3 more double crochets into the same corner space to form a corner.
Round 1 square
In the next two spaces: Crochet 3 additional double crochets in each space.
In the subsequent space: Make 3 double crochets, chain 1, and 3 more double crochets to create the next corner.

Round 1 square
Continue around: Work 3 double crochets in each of the next two spaces, followed by a corner of 3 double crochets, chain 1, and 3 double crochets. Repeat this pattern until you reach the initial chain-2 space. Finish the round with a slip stitch into the top of the initial chain 2.
If you’d like to proceed, move on to Round 2: Begin by slipping to the corner space and then create a chain-2. Next, work 2 double crochets, chain 1, and 3 more double crochets in the same corner space. Then, continue with 3 double crochets in each of the next 3 spaces, followed by 3 double crochets, chain 1, and 3 double crochets (repeat from * to *). Complete the round by joining with a slip stitch.

Round 2 square
And there you have it! I hope this explanation clarifies the process for you. Happy crocheting!
To access the PDF of the pattern and start your next crochet project, access the PDF below and let the needle magic begin!
Access the PDF/ Daisy Square Free Pattern
Video Tutorial
For those who prefer to learn through videos, I have an excellent suggestion. I recommend this comprehensive tutorial, especially created for visual learners who enjoy video content more than following written instructions. The video was made by RadCrochet channel. You can find the video tutorial here.
The My Crafts Inspirations team would like to thank each reader for following us this far, we wish you much success with this wonderful pattern and we hope to help you with our next crochet suggestion. To the next!
You Are Here: