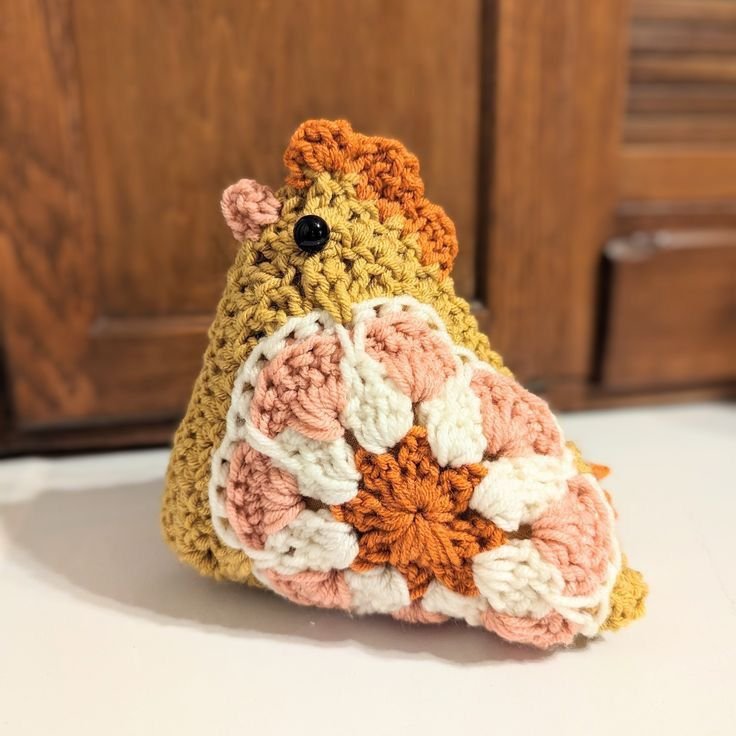
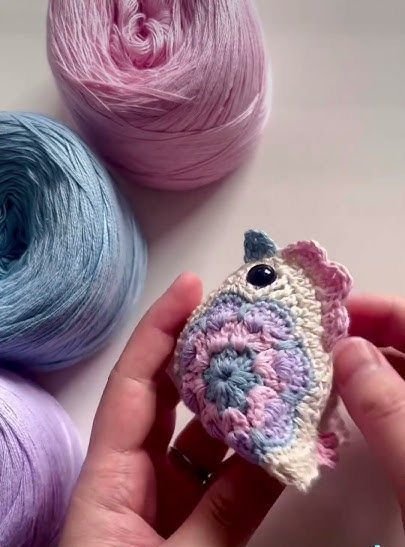
Crochet enthusiasts, are you ready for a delightful project? This Granny Square Chicken is a fun and adorable crochet pattern that’s perfect for using up scrap yarn or adding a touch of whimsy to your home. Whether you’re a beginner or have some experience, this pattern offers a satisfying blend of simplicity and creativity. Let’s dive into the details!
Granny Square Chicken Crochet Free Pattern
Looking for a playful crochet project that’s both cute and functional? This Granny Square Chicken is the perfect addition to your crochet repertoire! Combining the charm of classic granny squares with a bit of amigurumi, this delightful chicken is a fun way to use up yarn scraps or experiment with color combinations.
Whether you’re decorating your home, crafting a unique gift, or simply enjoying some creative time, this pattern offers a quick and rewarding experience. Plus, it’s a great project for beginners looking to level up their crochet skills. Let’s get started!

Granny Square Chicken Crochet Free Pattern
Finished Size:
Height: 3.5 inches
Length: 4 inches
Level of Difficulty:
Beginner/Intermediate
This project is suitable for crocheters who are comfortable with basic stitches and techniques like attaching and changing yarn colors. If you’re familiar with the following stitches, you’re ready to create this cute little chicken!
Stitches/Terms Used:
ch: Chain
sl st: Slip Stitch
sc: Single Crochet
hdc: Half Double Crochet
dc: Double Crochet
tr: Treble (Triple) Crochet
FO: Fasten Off
Materials:
Yarn: Medium weight 4 yarn in your desired colors.
Hook: 2.75mm / 5mm crochet hook
Eyes: 12mm plastic safety eyes
Stuffing: Fiberfill
Additional Tools: Scissors, yarn needle
Step-by-Step Instructions
1. Joining the Squares
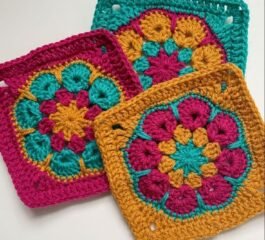
To start, you’ll need two crocheted granny squares(Access the pattern here). Once you’ve completed your squares, place the wrong sides together. Using a yarn needle and a long piece of yarn, sew three sides of the squares together, leaving one side open. This will create the body of the chicken. Now it’s time to bring the character to life!
Access the square pattern here
Access The Pattern2. Creating the Chicken Beak
Take yellow yarn and attach it one stitch after the crown section of your chicken (this is usually at the top corner of your joined squares). To create the beak:
- Chain 1, then sc in the same stitch.
- Dc + chain 3 + dc + sc all in the same stitch.
- Fasten off (FO) and weave in the ends.
This will give your chicken a small but noticeable beak.
3. Finishing the Body
Attach the 12mm plastic safety eyes near the corner where the crown and beak are located. The eyes should sit neatly to give the chicken its full, cute expression. After placing the eyes, stuff the body with fiberfill stuffing, making sure it’s soft but firm.
Next, squeeze the open side of the body flat so that the top corner touches the bottom corner, creating a pyramid or triangular shape. These two corners will meet at the chicken’s “butt,” where the tail will be attached. Use your yarn and needle to sew across this final edge, then fasten off and weave in the end.
4. Adding the Chicken Tail
For the chicken’s tail, attach pink yarn (or any color you like) to a stitch next to the center of the bottom edge—the part you just sewed shut. To create the tail feathers:
- Chain 34, then make 1 tr in the same stitch.
- Chain 3, and sl st in the same stitch.
- Repeat this two more times to create three tail feathers.
Fasten off with a yarn tail and weave in the ends. Now your chicken has a fabulous tail!
Finishing Touches:
With the beak, eyes, and tail in place, your granny square chicken is complete! You now have a charming little crochet friend that can be used as a decorative piece, gift, or even a toy.
This project is an excellent way to practice working with granny squares and experimenting with color changes. Plus, it’s a fantastic stash-buster for those leftover yarn bits.

Granny Square Chicken Crochet Free Pattern
Happy crocheting, and enjoy making your Granny Square Chicken!
Tip: If you want to personalize your chicken, try experimenting with different yarn colors, adding wings, or even creating a whole flock in different sizes.
You might also be interested
You Are Here:
