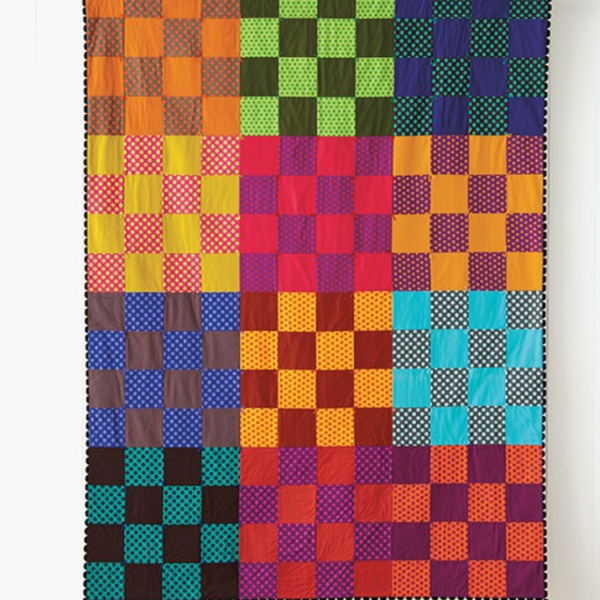
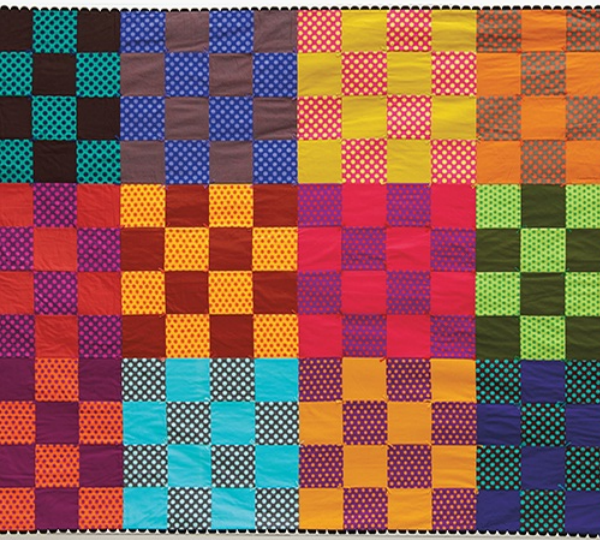
Featuring a super straightforward design, this 16-patch quilt provides an ideal canvas for exploring vibrant color combinations. In this rendition, I opted for a delightful mix of polka dots and rich solids, but the possibilities are endless—whether you prefer an all-solid ensemble or an all-print showcase. Embrace a single contrasting theme, such as complementary colors, low-volume fabrics with dark hues, or a striking black-and-white motif.
Quilt Pattern with a Graphic Appeal
This uncomplicated creation serves as a fantastic gift, allowing for easy personalization with the recipient’s favorite colors and patterns. For a playful touch, consider incorporating fussy-cut squares from modern novelty prints to craft a lively I-Spy quilt.
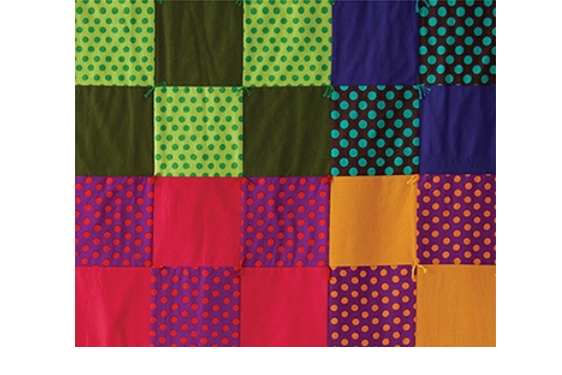
When creating the Graph quilt, I found that the simple squares and polka dot fabrics lent themselves perfectly to a tied quilt. Employing a different color of floss for each block, I tied the quilt at every four-way pieced corner, resulting in a charming and distinctive final touch.
From each fabric A fat quarter:
Cut 8 squares 5″ × 5″ (12.5 × 12.5 cm). Keep similar colors grouped together.
From each fabric B fat quarter:
Cut 8 squares 5″ × 5″ (12.5 × 12.5 cm). Keep similar colors grouped together.
From binding fabric:
Cut 7 strips 2 1/2″ (6.5 cm) × WOF. Trim the selvedges.
This quilt is also suitable for charm squares—pre-cut 5″ × 5″ (12.5 × 12.5 cm) pieces often available in individual color packets.
Figure
Constructing the Blocks:
Note: Maintain a 1/4″ (6 mm) seam allowance for all steps.
Pair up four squares for each block, aligning right sides. Sew four rows, each consisting of alternating fabric A and fabric B squares (refer to figure 1). Press the seams toward the polka dot squares.

Figure 1
Rotate two rows by 180°. Align the right sides, sewing the four rows together to form a large square. Alternate colors to create a checkerboard pattern, ensuring adjacent seams align (see figure 2).

Figure 2
Repeat Steps 1 and 2 for the remaining 11 blocks.
Top Assembly:
4. Align right sides and sew four rows, each comprising three blocks. Ensure that fabric A from each block meets fabric B from the adjacent block, maintaining the checkerboard pattern.
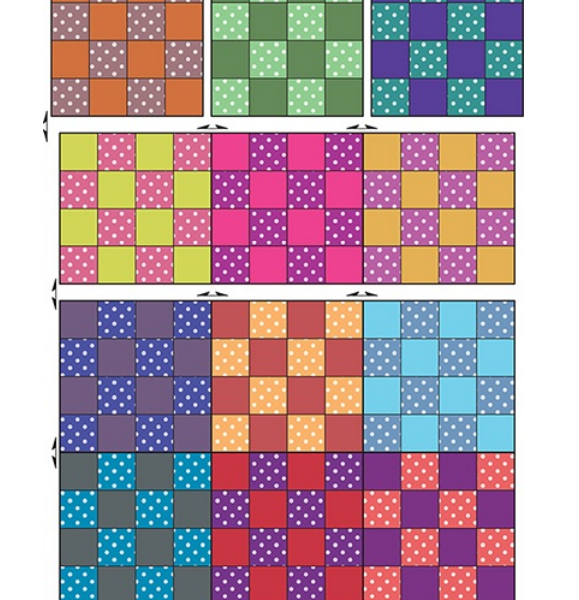
Assemble the quilt top by sewing the rows together in the specified order, following the Graph Assembly Diagram.
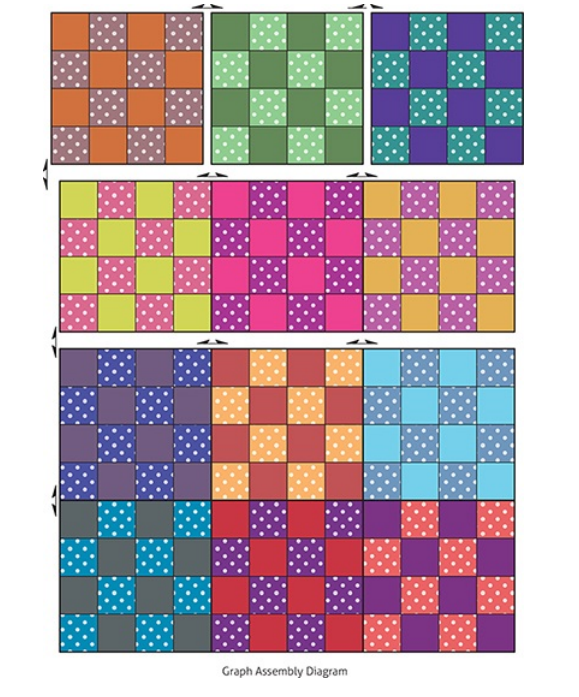
Diagram
Quilt Completion:
6. Square the top and pin it to the backing and batting. Opt for tying the quilt rather than machine quilting. Apply the binding using the techniques outlined in the Tools and Techniques section for finishing touches.
When finishing the quilt, the option of tying it instead of machine quilting adds a handcrafted touch and highlights the simplicity of the pattern. The edge finishing and suggested finishing techniques provide a charming and welcoming final result. This pattern is both a rewarding project for beginners and an exciting canvas for experienced quilting enthusiasts, promoting creativity and personal expression.
You might also be interested
You Are Here: