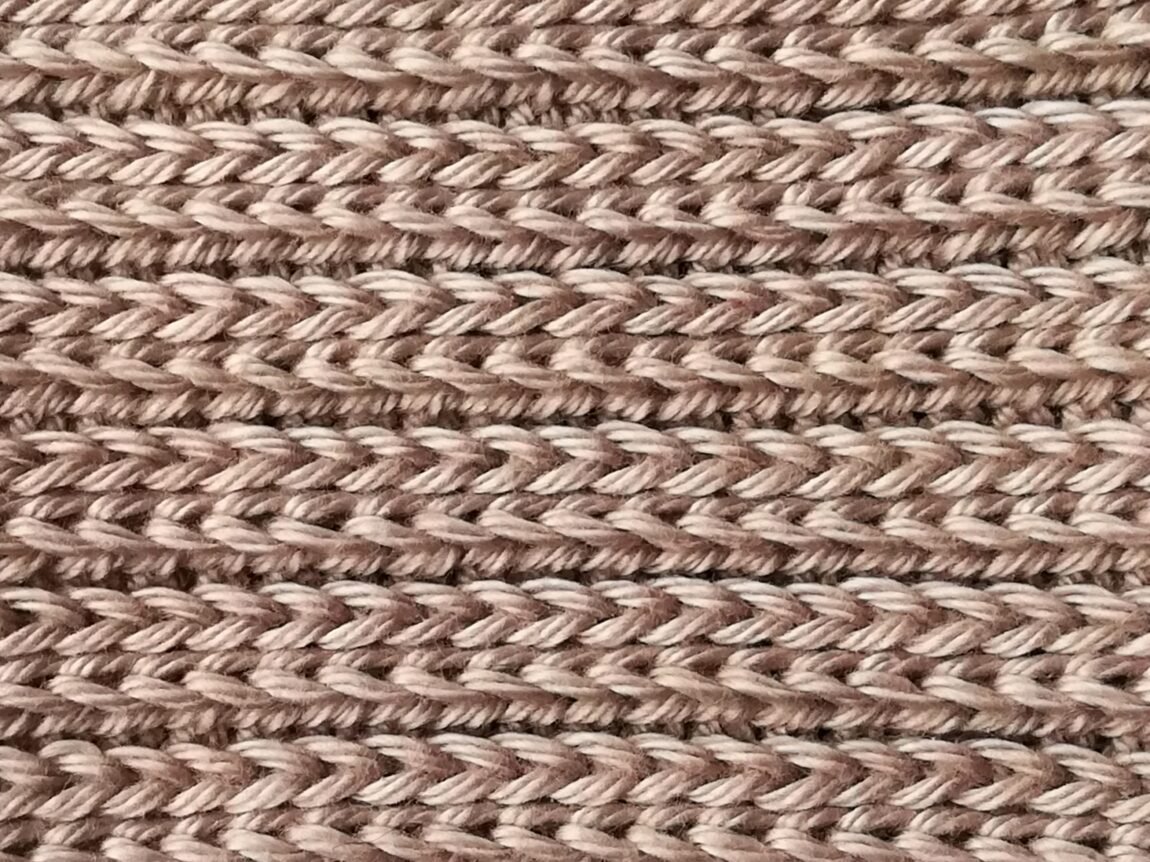
The camel stitch is a versatile and eye-catching crochet technique that creates a beautifully textured fabric with a unique “knotted” effect. It’s perfect for adding a distinctive touch to your projects, whether you’re making cozy blankets, scarves, or accessories. What makes this stitch truly special is how it shifts the top of your stitches forward, creating horizontal ridges that resemble a camel’s hump, hence the name!
The Camel Stitch Free Pattern
In this tutorial, I’ll show you how to work the camel stitch in rows. While we’re focusing on rows today, this technique can easily be adapted for working in the round, making it a flexible option for all sorts of projects.
Plus, it’s easier than it looks, and with just a few simple steps, you’ll be able to master it in no time! So grab your hook and yarn, and let’s dive into this fun and textured stitch!

The Camel Stitch Pattern
Materials You Will Need:
- Yarn of your choice
- Crochet hook that matches your yarn weight
- Scissors
- Tapestry needle (for weaving in ends)
Getting Started:
To begin, make a slip knot and crochet a foundation chain of any multiple of stitches. Add one extra chain for your turning chain. For this tutorial, I’m chaining a total of 21 stitches.
Row 1: Half double crochet into the 2nd chain from your hook.
Continue by working one (1) half double crochet into each chain across the row.
At the end, chain one (1) and turn your work.
Understanding the Third Loop:
Now, you’ll be looking at the back of your half double crochet stitches. When you examine the back of these stitches, you’ll notice two horizontal bars at the top. The second horizontal bar, located just below the top one, is called the “third loop.” For the camel stitch, this is the loop you’ll be working into, which pushes the top of the stitch forward, creating a textured ridge or “knot” effect.
Row 2:
Insert your hook into the 3rd loop (from under the bottom of the loop up through the top) and work a half double crochet into the first stitch and each stitch across.
This technique forces the top of your stitches to push forward, giving the distinctive camel stitch texture.
At the end of the row, chain one (1) and turn your work.
Row 3:
You will now be working on the front of your piece.
To ensure the tops of your stitches are pushed in the same direction, insert your hook into the third loop, which may look slightly different or harder to locate.
Push the top of the stitch forward to expose the third loop, and insert your hook from top to bottom under that loop, working a half double crochet in each stitch across.
And that’s it! You have now learned the camel stitch! To continue, simply repeat rows 2 and 3 for the length of your project. This technique is perfect for adding a unique texture to blankets, scarves, and other accessories.
Enjoy working with this stitch, and don’t forget to experiment with different yarns and colors for stunning results!
Pro Tip: The camel stitch creates an interesting horizontal ridge, making it perfect for projects where you want the texture to stand out, like cozy sweaters, beanies, or even home decor items.
Video Tutorial:
Happy crocheting!
You might also be interested
You Are Here: