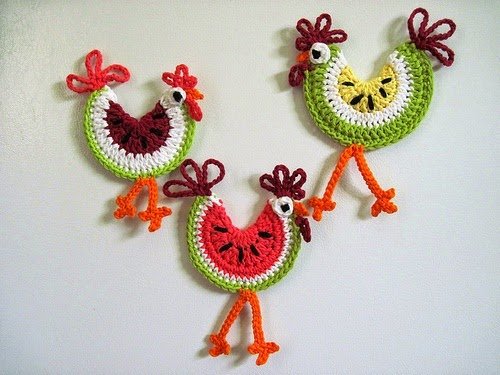
Crochet is all about creativity, and sometimes the most unexpected and fun projects are the ones that bring the most joy. If you’re looking for a playful and charming decoration to add to your home or to give as a gift, these adorable Hanging Chickens are the perfect project to dive into. They’re simple to make, delightfully whimsical, and will surely brighten up any space with their quirky charm.
Hanging Chickens: A Quirky Crochet Project for Your Home
Written byadmin in
The beauty of this project lies in its fun and unique design—these little chickens are not just for Easter or the farmyard-themed decor; they make wonderful year-round decorations! You can hang them up in your kitchen, living room, or even in a child’s room. The best part? They’re surprisingly easy to make, and with just a few basic crochet techniques, you can craft your very own flock of chickens. Plus, they’re the perfect conversation starter, with their charming personalities and a dash of fun that can only come from handmade crochet!
In this guide, we’ll take you through the steps of creating these whimsical hanging chickens, from the body and feet to the tail, comb, and eye details. Whether you’re a seasoned crocheter or a beginner looking for a delightful challenge, these hanging chickens will inspire your creativity and fill your home with handmade happiness. Ready to get started? Let’s crochet these little guys together!
Hanging Chickens
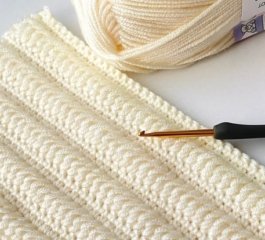
Materials You Will Need:
- Yarn (choose your favorite colors for the chicken’s body, feet, tail, and beak)
- Crochet hook (appropriate size for your yarn)
- Scissors
- Yarn needle for weaving in ends
- Plastic eyes (optional)
- Moulinè yarn (for the eyes)
Body:
Magic Loop: Start with the magic loop and make 20 double crochets (dc) in it.
Increase Row: On the next row, make 2 double crochets in each stitch (2 dc in each of the 20 stitches). This will give you 40 double crochets.
Single Crochet Row: Next, work 60 single crochets (sc) following this pattern: (2 sc in one stitch, 1 sc). Repeat this pattern until the end of the row.
White Single Crochets: Then, crochet 60 white single crochets around the body.
Shape the Body: Fold the body in half. Don’t worry, it will curve naturally as you fold!
Crochet Together: To finish shaping the body, crochet 45 single crochets, following this pattern: (2 sc in one stitch, 1 sc). Repeat until the end of the row.
Feet:
Chain 8: Begin by chaining 8, then sl st (slip stitch) into the 4th stitch from the hook.
Feet Shape: Chain 5, then sl st into the first of the 5 chains. Repeat this step one more time.
Finishing the Feet: Finish by making 4 single crochets in the first 4 of the 8 stitches from the beginning.
Tail:
Chains for Tail: For the tail, start by chaining 14, then sl st to the beginning.
Tail Continuation: Chain another 16, and sl st to the beginning.
Final Tail Touch: Finally, chain 14 again and sl st to the beginning to complete the tail.
Fasten off the yarn.
Comb of the Head:
To make the comb for the chicken’s head, simply chain 7, 9, 9, and 7. Use slip stitches to connect the ends and form a lovely comb that sits on top of your chicken’s head. This gives your chicken that signature look!
Eye:
For the eye, I used a lot of thinner hook and Moulinè yarn for a more delicate touch. You can also glue a plastic eye if you prefer!
Magic Loop for Eye: Start with a magic loop and crochet 6 single crochets into it, then join in the first single crochet.
White Single Crochet Row: In the next row, use white yarn and crochet 12 single crochets. This will give the eye a rounded, 3D look.
Fasten off and weave in the ends.
Beak:
The beak is simple but adds a lot of character to your hanging chicken!
Crochet the Beak: Use 2 single crochets together in the last pull to create the small, pointy beak of the chicken.
Assembling Your Hanging Chicken:
Now that you’ve completed all the pieces, it’s time to assemble your chicken. Attach the tail, feet, and comb securely to the body using yarn or a yarn needle. If you’re using plastic eyes, glue them in place or sew them on with your yarn.
Finally, hang your little chicken by attaching a small loop to the top of its head, and you’re done! These hanging chickens are now ready to brighten up any space.
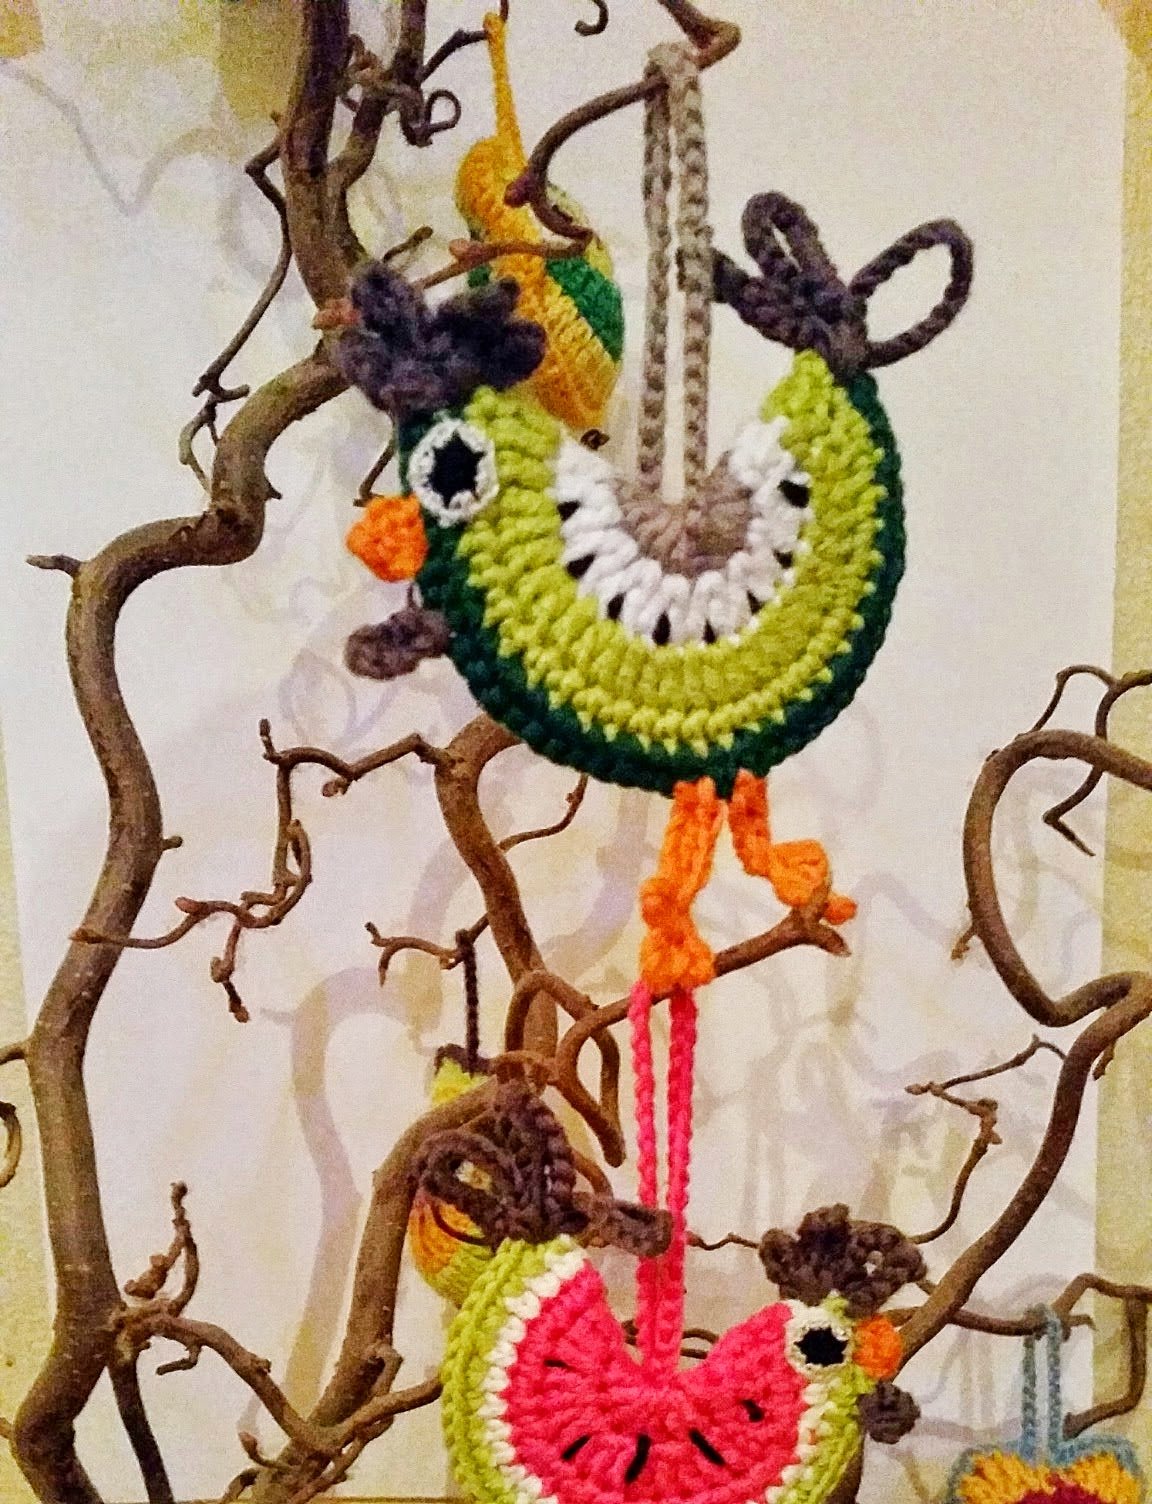
Hanging Chickens
Making these hanging chickens is a fun and easy project that adds a quirky charm to your crochet collection. Whether you’re making a few to hang around your home or creating a whole family of chickens, they are sure to be a hit. With a little creativity, you can experiment with different colors for the body and tail, or even create variations like a rooster or different chicken breeds!
So, grab your yarn and hook, and let the chicken-making fun begin!
You Are Here: