A spoonful of raspberry pink, a little mint, the last few yards of marigold. A scrap blanket gives all those colors somewhere to go, but what makes this one work is the black around them. Each dark frame gathers a handful of tiny granny squares into a single patch of color. The ivory lines do something different: they let your eye follow one block across the blanket before moving on to the next.
Scrappy Granny Mosaic Blanket Crochet Pattern
Written byadmin in
The small diagram shows four two-round granny squares arranged two by two, with a granny-stitch round worked around the whole group. That outer round is the detail worth a closer look. At the seam between two little squares, just one group of stitches bridges the join. Once you know where that group goes, framing the blocks is almost as easy as making the squares.
This US-terms pattern uses the upper diagram for the small motifs and the first frame round. The blanket size, sewn joins, extra frame rounds and border are a suggested finish inspired by the photograph. The lower diagram shows a different stitch treatment. The written version uses the open granny stitch throughout and has not been test-crocheted.
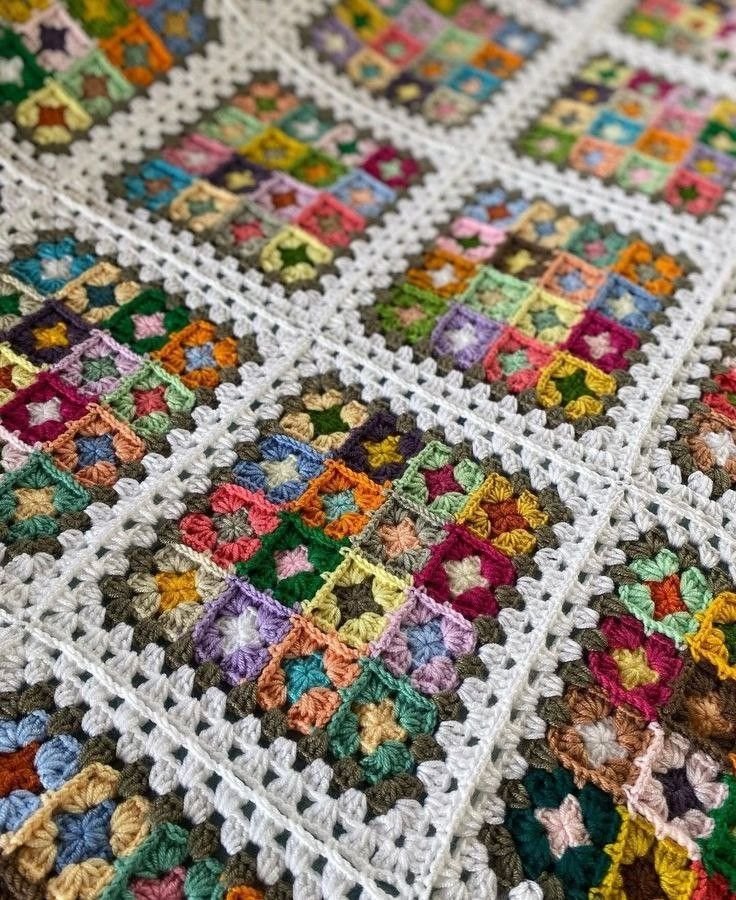
Scrappy Granny Mosaic Blanket Crochet Pattern
For the sample layout described here, make 20 framed blocks and arrange them four across by five down. Each block contains four mini squares, so you’ll make 80 mini squares. There is no long starting chain. Resize the blanket by adding or removing complete blocks.
Size your throw from one finished block. Make, wash and dry one full block, including its ivory round. Measure it across the middle. If yours measures 9 inches, a 4-by-5 layout will measure about 36 by 45 inches before the border. A border measuring 1 inch on each edge would bring that to about 38 by 47 inches. These figures illustrate the sizing calculation. The reference images give no finished measurements or gauge.
Materials
- Smooth yarn of the same weight for the centers and surrounds. DK or worsted weight makes a good starting point. Choose scraps with similar washing instructions.
- Black or charcoal yarn for the frames and border, plus ivory yarn for the lattice.
- A crochet hook suited to your yarn. Try 4 mm with DK or 5 mm with worsted, then adjust until the sample block lies flat and folds comfortably.
- A tapestry needle, scissors and locking stitch markers.
To estimate yarn before making all 20 blocks, weigh your black yarn before and after framing one block. Multiply the difference by 20, then allow extra for the outer border. Estimate the ivory the same way, allowing extra for joining. Use a few longer scraps for the second rounds of the small squares. Those rounds take more yarn than the centers.
Stitches and conventions
ch = chain, dc = double crochet, sl st = slip stitch, sp = space. A group means 3 separate dc worked into one space. A corner means (3 dc, ch 2, 3 dc) in the indicated corner space. A beginning ch 3 counts as the first dc. Close each round with a sl st in the top of that ch 3. Work with the right side facing throughout.
Step 1. Crochet the mini granny squares
Round 1, center color. Make an adjustable ring, or ch 4 and join with a sl st to form a ring. Ch 3 and work 2 dc into the ring. Repeat [ch 2, 3 dc into the ring] three times. Ch 2 and join. Close the center snugly and fasten off. Count: 4 groups and 4 corner spaces.
Round 2, second color. Join a contrasting color in any ch-2 corner. Ch 3 and work (2 dc, ch 2, 3 dc) in that same corner. Repeat [ch 1, work a corner in the next ch-2 sp] three times. Ch 1 and join. Fasten off. Count: 8 groups, 4 corner spaces and 1 ch-1 space in the middle of each side.
Make four minis for your first block. Try one light center against a dark surround, then reverse that relationship in its neighbor. If every pair has a similar contrast, changing just one surround to a deeper shade can make the little squares easier to pick out.
Step 2. Join four minis into one block
Lay out the four squares in two rows of two, right sides up. Use a tapestry needle and a matching strand to whipstitch the two top squares together along their neighboring edges. Match the stitches and chain spaces, catching one loop from each edge and keeping the seam relaxed. Join the two bottom squares in the same way. Sew the two rows together, aligning the center crossing.
Before adding the frame, look along one outside edge. From corner to corner you should see a ch-1 space on the first mini, two corner spaces touching at the seam, and a ch-1 space on the second mini. All three locations will receive stitches. Leave the outer corner openings accessible when securing the sewing yarn.
Step 3. Frame the patchwork in black
Frame Round 1. Join black in an outside corner. Ch 3 and work (2 dc, ch 2, 3 dc) in the same corner. Along the first side, work the following sequence:
- Ch 1 and work 3 dc in the first mini’s side ch-1 sp.
- Ch 1 and work one group of 3 dc at the seam, inserting the hook through both neighboring corner spaces together for each dc. If the seam is snug, gently bring the openings together with your fingers.
- Ch 1 and work 3 dc in the second mini’s side ch-1 sp. Ch 1.
Work a corner in the next outside corner. Repeat the side sequence around the remaining three sides, making a corner at each new corner. After the last side, join to the beginning ch 3. Check one edge: 5 groups run from corner to corner, counting the group at each end that faces that edge. This matches the upper diagram.
Frame Round 2. Sl st across to the corner sp. Ch 3 and work (2 dc, ch 2, 3 dc) in that sp. Work a group in every ch-1 side sp and a corner in each remaining ch-2 corner sp, with ch 1 between neighboring groups along each side. Ch 1 after the final side group and join. Fasten off. Count: 6 groups along each edge, including the end groups.
Frame Round 3, ivory. Join ivory in a corner and repeat Frame Round 2. Fasten off. Count: 7 groups along each edge. Set this block aside as your size reference. Make 19 more in the same way.
Step 4. Assemble the throw
Arrange the 20 blocks four across and five down. A phone photo is handy here: it lets you try moving a bright block without losing a layout you liked. When you’re happy with the arrangement, stack and label the blocks one row at a time.
With ivory yarn, whipstitch the blocks into rows, matching corresponding stitches, chain spaces and corners. Then sew the rows together, checking that the four corners at each intersection meet. Both blocks contribute an ivory round to each shared edge. Those two rounds form the light lattice in this version.
Step 5. Crochet the black outer border
Border Round 1. With the right side facing, join black in an outside corner and make the beginning corner as before. Work 3 dc in every side ch-1 sp. Wherever two framed blocks meet along the outside edge, work one group through their two touching corner spaces together, just as you did between minis. Ch 1 between groups. Work a full corner only at each of the blanket’s four outside corners. Ch 1 after the final side group and join.
Border Round 2. Repeat Frame Round 2 around the entire blanket. For a wider black edge, work one more round in the same manner. Fasten off and weave the tails into areas of matching color. Wash according to the yarn label, then shape the blanket to a rectangle and let it dry.
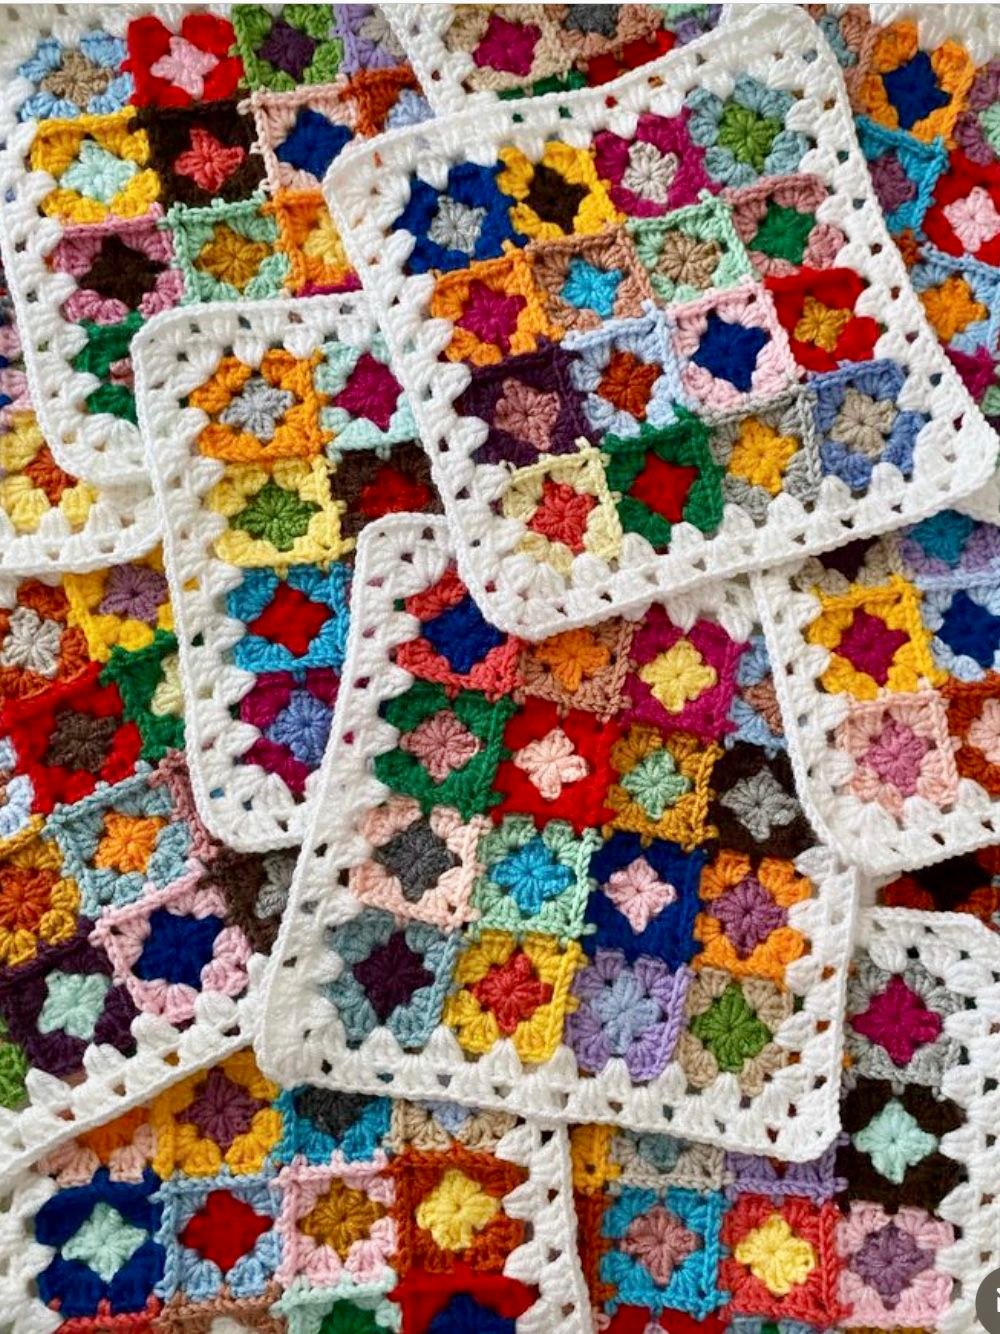
Scrappy Granny Mosaic Blanket Crochet Pattern
For a denser patchwork center like the ones visible in the blanket photograph, arrange nine minis in three rows of three inside each frame. On each side of the first black round, work one group into each of the three mini-square side spaces and one group at each of the two seams. Including the end groups, that gives 7 groups per edge on the first black round. The rest of the framing follows the same sequence. A 20-block throw in this version takes 180 minis, so measure one larger block before deciding how many you need.
The pleasure of this blanket is that the colors can be decided four little squares at a time. Save a favorite pairing for more than one block: a mint center inside plum, for instance, can reappear at opposite ends of the throw. Once the black frames and ivory seams are in place, those small repeats give the eye something familiar to find among the scraps.
You might also be interested
You Are Here: