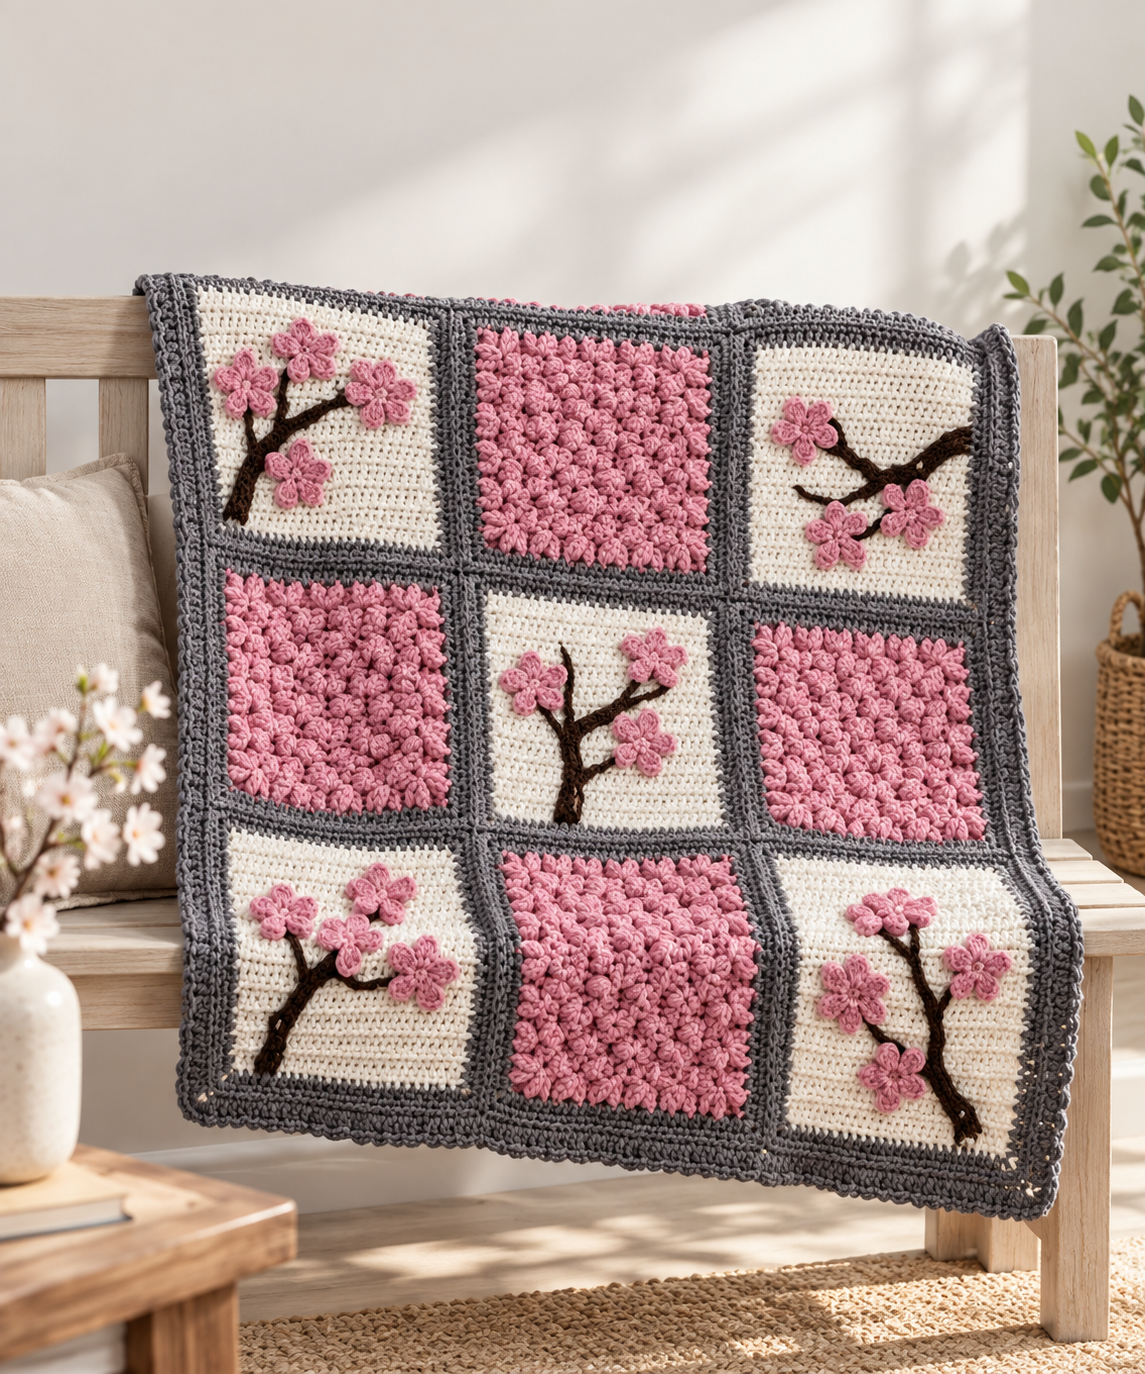
A cherry blossom blanket brings the quiet beauty of spring into a handmade project. Soft pink texture fills some of the squares, while delicate flowers and crocheted branches decorate the others. A gray frame gives each motif its own space and ties the whole blanket together.
Cherry Blossom Crochet Blanket
Written byadmin in
This design is especially satisfying if you enjoy making a blanket one square at a time. You can finish a motif in a short crafting session, arrange your completed squares on a table, and watch the garden grow before joining them into a cozy throw.
One of the joys of this blanket is choosing where each blossom will go. Before sewing the flowers down, place them loosely along the crocheted branches and step back to look at the entire square. A few blossoms clustered near the tips can make each branch feel different while keeping the overall design balanced.
Cherry Blossom Crochet Blanket
The raised pink squares add more than color: their clusters give the blanket a soft, dimensional texture. Against the smooth white squares, that texture makes the floral appliqués stand out. The gray borders provide a clear frame for both designs and help the alternating layout feel cohesive.
What Makes This Blanket Special?
The blanket alternates two styles of square. One is packed with raised treble-crochet clusters that create a richly textured pink surface. The other starts with a simple white foundation and is decorated with a separate brown branch and small five-petal blossoms. Together, the two designs create an appealing balance of color and texture.
The sample layout uses nine squares in three rows of three. Five have cherry blossom appliqués, and four have pink cluster centers. You can reverse the quantities or make a larger grid once you are happy with the size and fit of both square types.
Materials and Skill Level
You will need worsted or Aran weight yarn in pink, white, charcoal gray or taupe, and a small amount of brown. Use a US H/8 (5 mm) crochet hook, a yarn needle, and scissors. The project suits an intermediate crocheter who is comfortable working in rounds, making cluster stitches, and sewing appliqués in place.
Each square is intended to finish at approximately 11 × 11 inches (28 × 28 cm). The textured square measures about 4½ inches across after its second round. Because yarn, tension, and borders affect the result, make one of each square and compare their finished dimensions before crocheting the full set.
How the Two Squares Come Together
For the raised square, you begin at the center and build layers of treble-crochet clusters. The groups gradually shape the round motif into a square. A gray border frames the pink center and gives it a clean edge beside the white squares.
The appliqué square begins with a white crocheted foundation. Pink blossoms are made separately, each with five rounded petals, and a slim brown branch is crocheted along a foundation chain. Sewing these pieces onto the white square lets you choose the direction and spacing of the flowers. Try laying out every component first so the branch looks natural and the flowers have room to stand out.
Choosing Colors and Arranging the Blanket
Dusty pink and ivory make a gentle combination, while charcoal gray adds definition around every square. For a softer look, choose a warm taupe border. You could also use blush, pale peach, or cream blossoms while keeping the same alternating layout.
Arrange your squares on a flat surface before joining. For a nine-square version, place the appliqué squares at the four corners and in the center, with the textured squares between them. Turn individual branches in different directions to make the finished blanket feel like a garden rather than a repeated print.
Tips for a Neat Finish
Keep the tension of your cluster stitches consistent so the pink squares lie flat. When sewing down the branches, secure them at several points instead of pulling the entire appliqué tight at the ends. A few small stitches near each blossom will help the flowers stay in place through use.
Block your finished squares to the same dimensions before joining them. The two square patterns use different border constructions, so matching their measured edges matters more than assuming that the printed stitch counts will line up. Once the rows are joined, add an outer border in the same gray yarn for a unified finish.
Ready to make your own spring-inspired blanket? Download the free PDF pattern below for the square instructions, blossom and branch appliqués, a suggested layout, and the stitch notes you will want beside you while crocheting.
Cherry Blossom Crochet Blanket Pattern
If you plan to make a larger blanket, try laying out your finished squares before joining them. You can rotate the branch squares so the flowers point in different directions, then move the pink squares around until you find an arrangement you like. Taking a quick photo of the layout will help you remember the order as you sew or crochet the rows together.
This project also makes a thoughtful handmade gift for someone who loves flowers. Choose gentle pinks for a springtime look or change the blossom color to suit the recipient. Whatever palette you choose, making and measuring one square of each type first will help you achieve a neat finish when it is time to join them.
You Are Here: