A simple granny square can become something unexpected when color and placement work together. The Granny Labyrinth Crochet Blanket combines familiar crochet clusters with an offset design, creating connected shapes that resemble a colorful maze.
Granny Labyrinth Crochet Blanket
Written byadmin in
White centers, yellow accents, green bands, deep purple, and soft lilac give this blanket its distinctive appearance. The light sections draw the eye through the arrangement, while the darker purple adds definition. Below, you’ll find an introduction to the project and a free PDF with the proposed block instructions and assembly diagrams. A traditional granny square grows evenly around its center. In this version, a small white granny square forms the starting point, and the colored section grows along just two adjacent sides.
One enjoyable part of the Granny Labyrinth Crochet Blanket is discovering how much the arrangement changes when you rotate a square. Before joining, try placing four blocks together with their white corners meeting in the center, then turn them outward and compare the results. This small exercise helps you understand the design and makes the larger placement chart easier to follow.
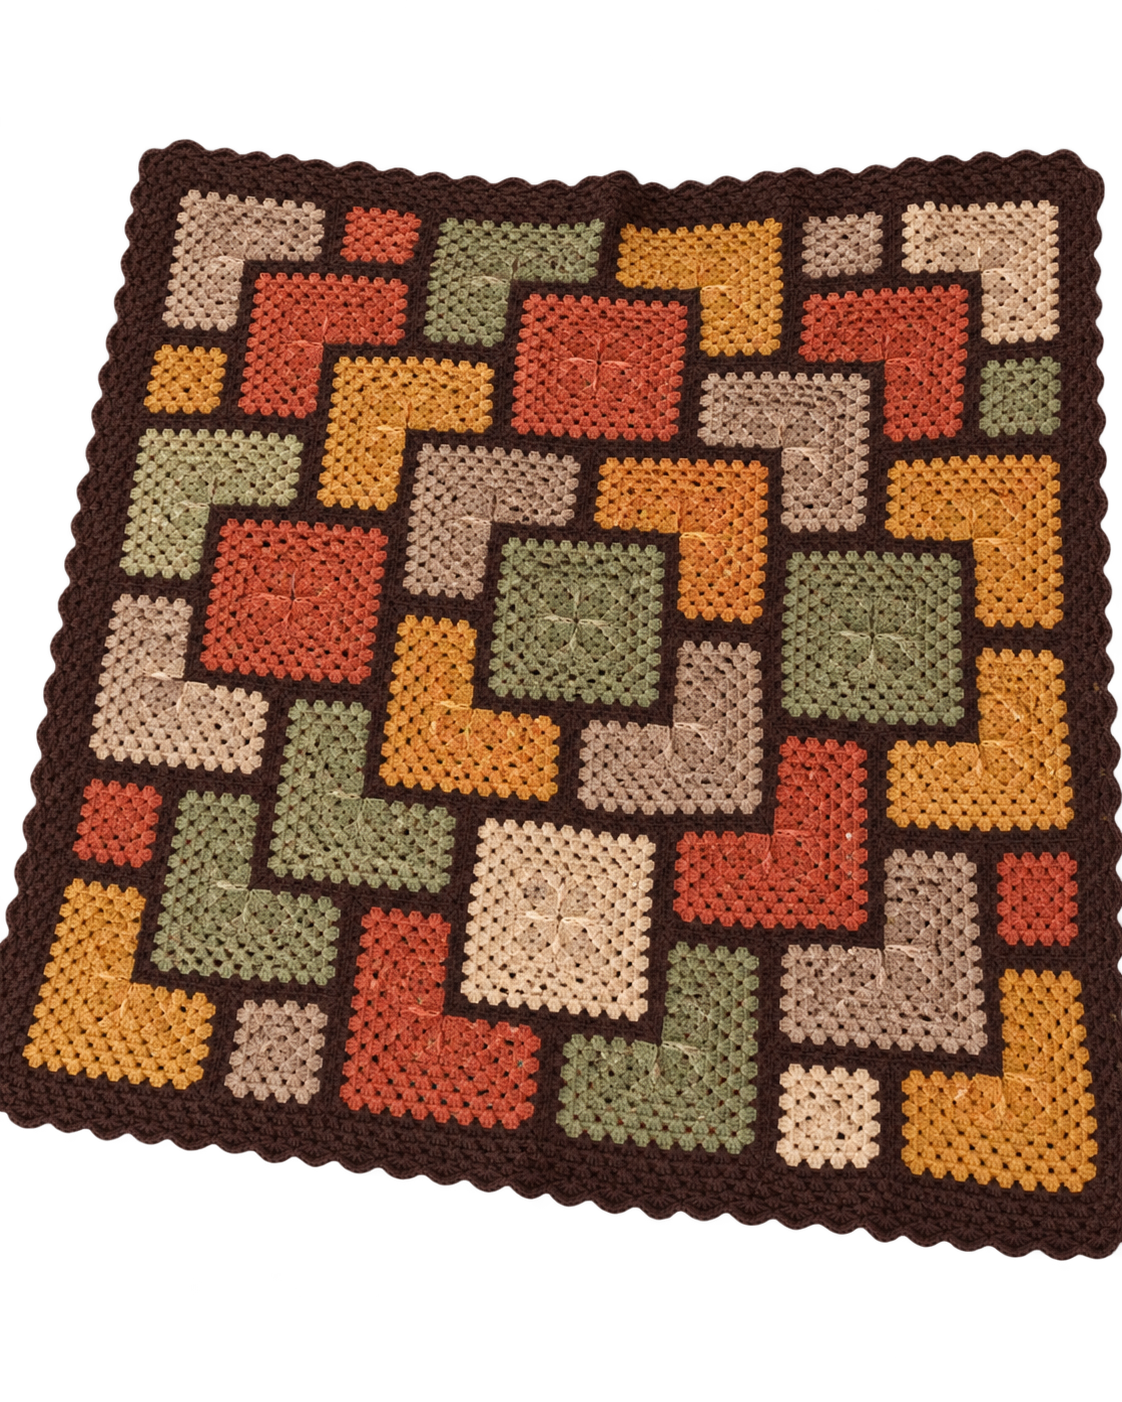
Granny Labyrinth Crochet Blanket
These back-and-forth rows create bands shaped like an “L,” leaving the white section near one corner of the finished block. Rotating the blocks changes how the bands connect, allowing identical motifs to form several different shapes across the blanket.
The accompanying layout uses 36 blocks arranged in six rows of six. Each block follows the same color sequence; its orientation determines its place in the overall design.
Choosing Your Colors
To recreate the palette shown in the guide, choose white or ivory, yellow, leaf green, deep purple, and lilac. Use yarns of the same weight and a similar fiber composition to help the blocks behave consistently during crocheting and washing.
Contrast is especially helpful here. The white core needs to stand out from the surrounding bands, and the deep purple should remain noticeably darker than the lilac. Before starting, place your yarns together in their intended order to see whether each transition is clear.
You can also personalize the palette. Keep the light-to-dark relationships in mind so the connected shapes remain easy to see.
Before You Begin
Gather your yarn, a suitable crochet hook, scissors, a yarn needle, stitch markers, and a measuring tape. Blocking supplies will also help you prepare evenly sized squares for joining.
The PDF uses US crochet terminology and includes chains, slip stitches, single crochet, and double crochet. Familiarity with granny clusters and working into spaces between groups will make the instructions easier to follow.
Make one complete sample before committing to all 36 blocks. This gives you a chance to check the construction, choose a comfortable hook size, and measure the finished square. Your sample also provides a more useful basis for estimating yarn requirements than the reference photograph alone.
Arranging the Labyrinth
Once your blocks are ready, lay them out before sewing. Use the white corner of each block as your guide, following the placement chart row by row.
Take a photograph of the complete arrangement and check it against the diagram. A single rotated block can interrupt a connected shape, so this small step can save you from undoing seams later.
Block the squares to consistent dimensions and join them with relaxed tension. Tight seams can pull the edges inward and affect the appearance of the finished blanket.
About the PDF Guide
This guide is an image-based reconstruction, combining the arrangement from the supplied drawing with the colors of the blanket photograph. It includes a 6 × 6 assembly diagram, block orientation chart, written crochet instructions, an illustrated stitch sequence, and suggestions for joining and finishing.
The construction and finishing details are proposed adaptations, and the pattern has not been physically test-crocheted. Make and block a sample to confirm the stitch behavior, dimensions, and yarn consumption before beginning the full blanket.
Download the Free Granny Labyrinth PDF
Ready to explore this arrangement? Download the free Granny Labyrinth Diagram and Tutorial PDF below and keep the placement chart nearby as you work.
Start with one square, enjoy watching the colored bands take shape, and build your blanket one block at a time.
Working in small batches can make the project easier to organize. Complete a few blocks at a time, keeping the same color order throughout, and compare their dimensions as you go. Store finished squares flat and label your yarn colors so you can return to the project without wondering which shade comes next.
Granny Labyrinth Crochet Blanket – Free PDF Guide
Weaving in ends regularly also makes the finishing stage more manageable. With several color changes in every block, loose tails can accumulate quickly. Leave enough yarn to secure each end properly, and work it through stitches of a matching color where possible so it stays discreet against the open granny texture.
When the blanket is finished, display it where the arrangement has room to show. Spread across a bed or draped over the back of a sofa, the connected bands become part of the room’s decoration. A nearby cushion in one of the blanket’s colors can tie the space together while letting the crochet remain the focal point.
You might also be interested
You Are Here: